

Krea 3 Packaging Photos: How to Keep Approved Artwork Intact
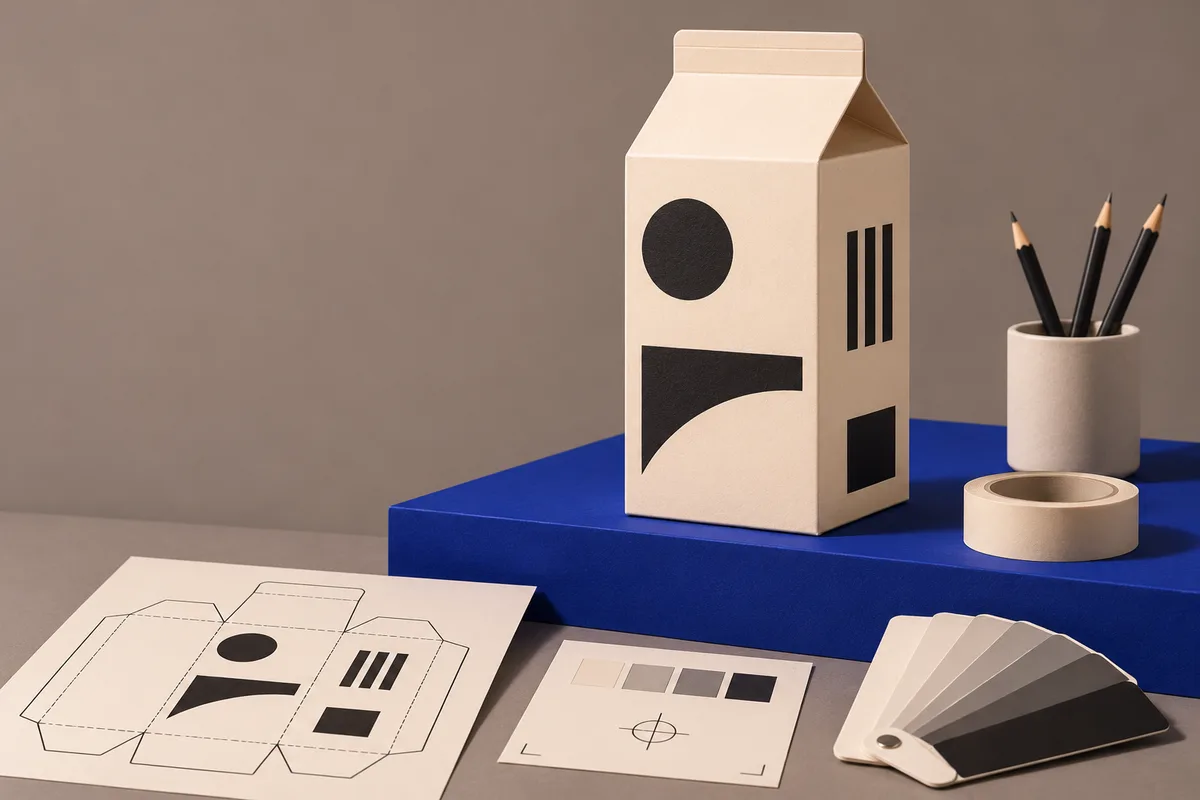
When a packaging photograph has approved lettering, a barcode or a certification mark, build the new scene around the original packshot. You can use the Krea2 image editing workspace to explore a background with Krea3, then place the original product over that background in a layer-based editor. This lets you decide exactly which image supplies the visible label.
Krea's technical report describes targeted image edits and product consistency. For a deliverable that must match approved artwork, use the original product pixels as the source of truth and proof the exported image. The example below uses a fictional cream-colored carton on a blue display plinth.
Start with a packshot you can place directly
Choose an approved photograph from the angle you want to ship. Check the front panel edge to edge and look for anything blocking the lettering. Save a full-resolution copy of the photo and the approved artwork. If there is a barcode on a visible panel, keep that panel unobstructed and record which SKU it belongs to.
Before generating anything, view the source at the intended placement size in your layout. If a required line disappears in the thumbnail, plan a larger placement or a closer crop. If the brief needs a side panel that the source does not show, get another approved photo or render from the correct angle.
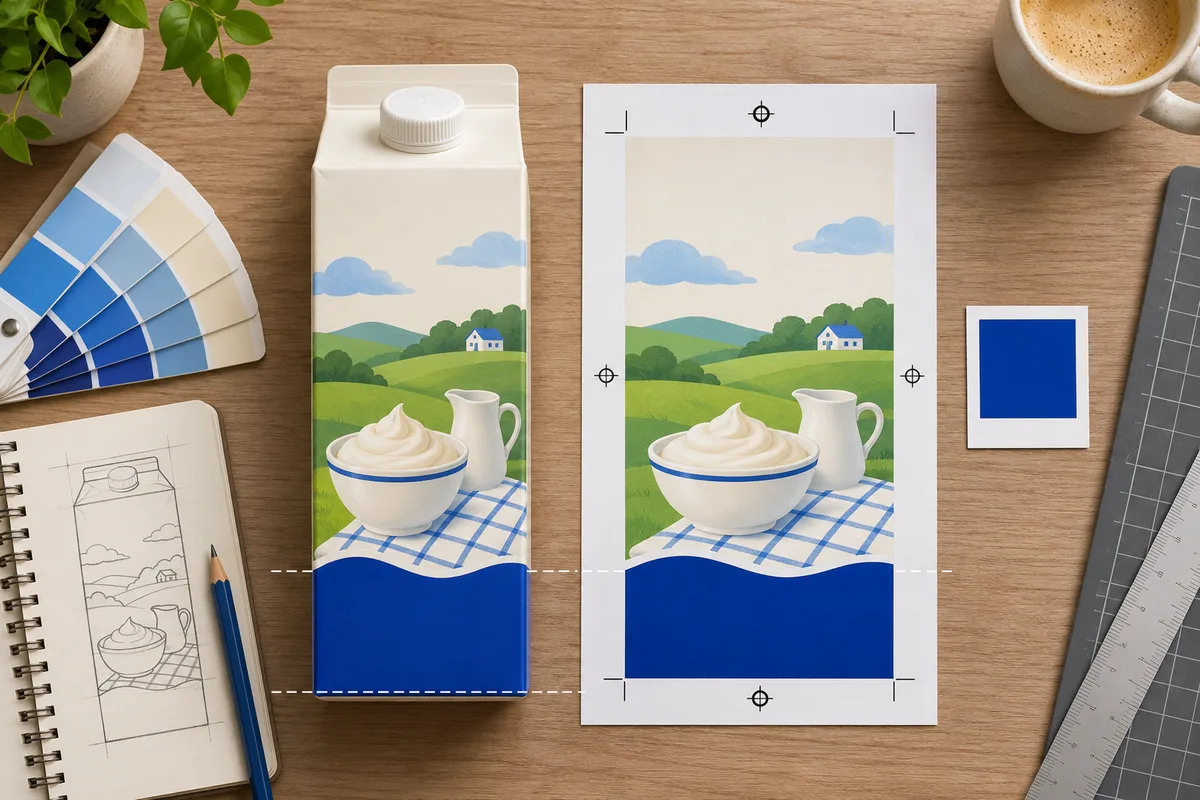
Illustration of a source-photo review. The package artwork is fictional.
Generate the scene with a placeholder
Make a disposable layout with a plain block roughly the size and angle of the carton. Give the block enough room around the corners for the approved cutout to fit. In Krea2, select Krea3 in the image editor and upload this layout for an image-to-image edit. Use the credit amount displayed for your chosen settings before generating.
Build a retail display scene around the blank block in the supplied layout. Use a matte cobalt plinth on a light gray studio background, with soft daylight entering from the left. Keep the camera at the block's current height and angle. Leave the top of the plinth clear around the block, with no other objects or lettering. The block is a placeholder and will be replaced.
Choose a result by looking at the plinth, light direction and overall framing. If the perspective or lighting makes the approved carton look out of place, adjust the scene prompt or choose a source photographed under similar light. The product backgrounds and lighting guide covers those adjustments in more detail.
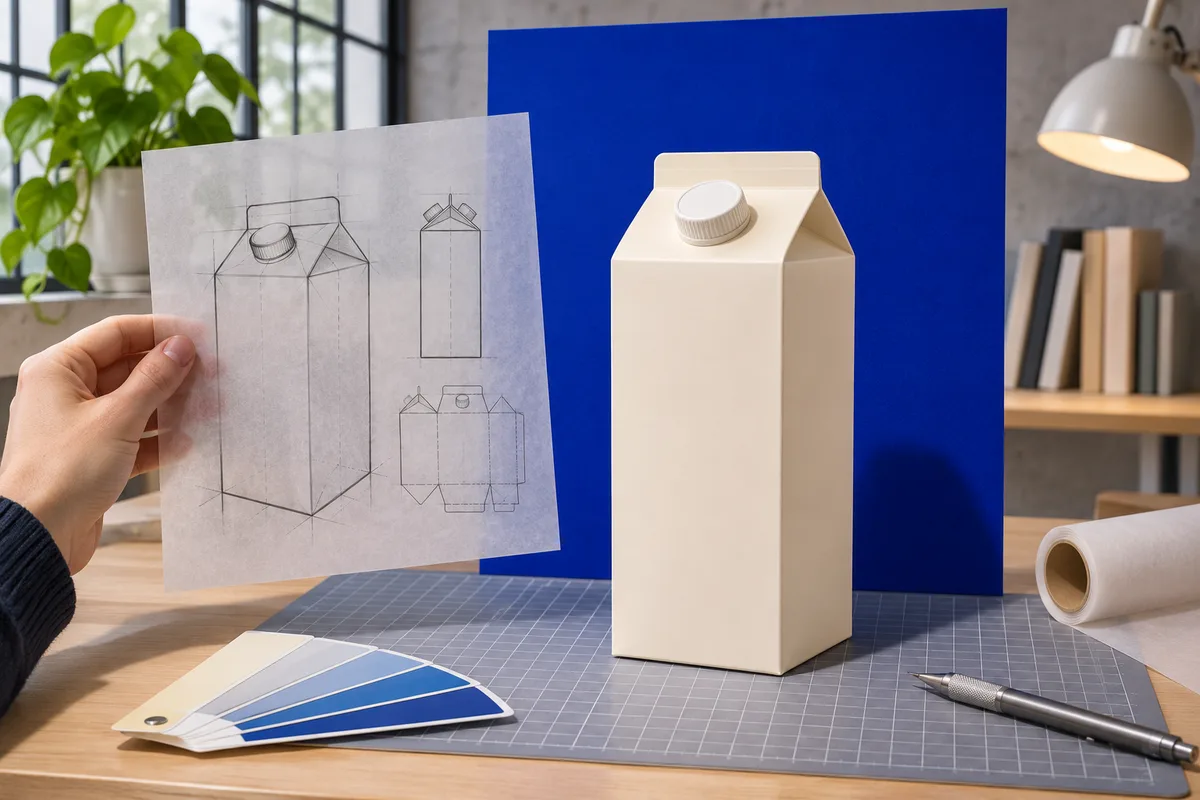
Illustration of separating the package asset from the scene.
Composite the original product and its shadow
Use a second copy of the scene with the placeholder removed. Where the plinth meets the product, the empty patch should look like continuous material. Put the approved packshot on its own layer above the clean scene. If the photo lacks transparency, create a cutout with the background remover or mask the edges manually. Inspect the crease at the bottom of the carton and any thin edges before you proceed.
Move and uniformly scale the cutout into its final position. Put a soft contact shadow on a separate layer beneath it, using the direction and softness of nearby shadows as a guide. Keep the product layer separate when adjusting the scene's color or exposure so the cream paper and artwork retain their intended appearance.
Proof the export against the approved source
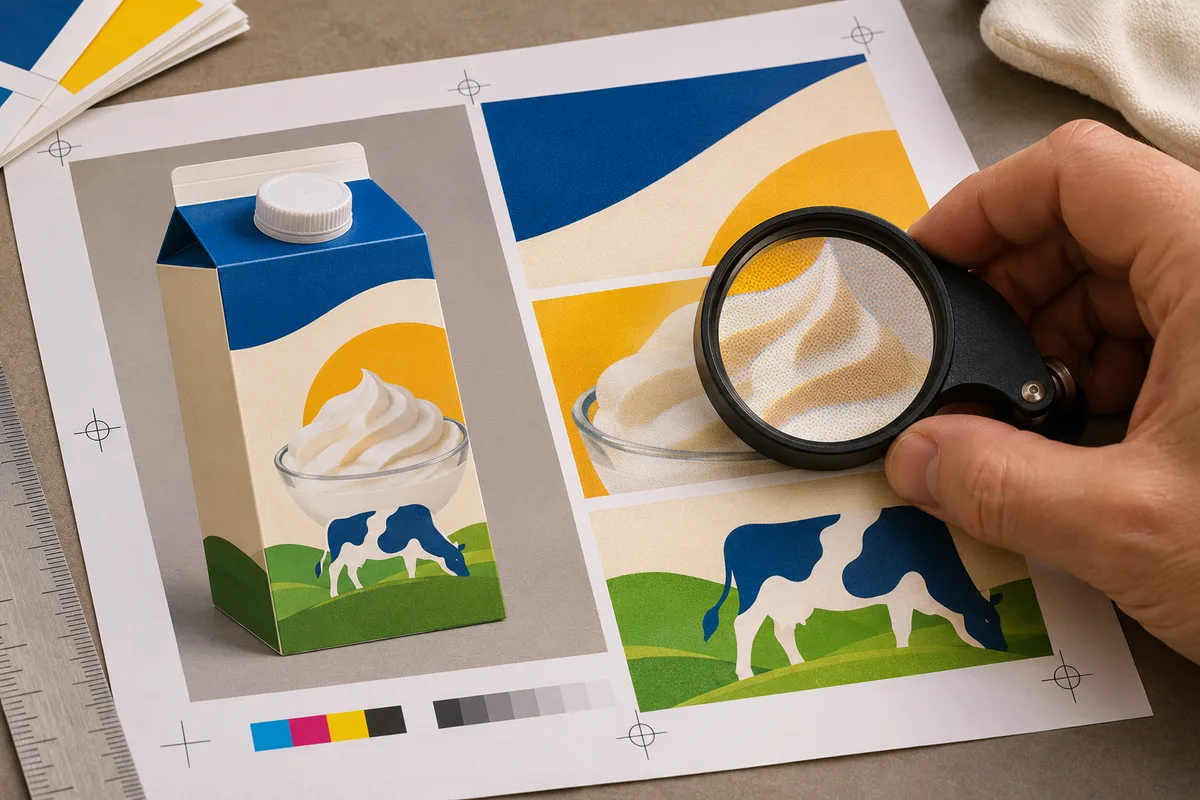
Illustration of proofing. It shows a review method, not a model result.
- Compare the complete panel at full size. Open the exported image alongside the approved packshot. Inspect lettering, marks, panel borders and any seams. Check that the mask did not trim a letter or expose a halo.
- Compare at the delivery size. Place the export in the actual ad or listing and check the visible artwork again. If the asset must carry a scannable code, test the code on the actual delivery version.
- Fix the layer responsible. If the label is too small, adjust the crop or scale. If the carton floats, adjust the shadow. If the geometry fails to match the set, revise the scene or use a better-matched original packshot.
Save the layered working file with the original source intact. If the assigned change is an approved revision to the lettering itself, use the Krea 3 label text editing guide to plan the copy change and review it against the new artwork.