

Krea 3 Reference Images: How Many Do You Actually Need?

Start with one image that establishes the subject and framing. Add a second only if it supplies a detail that matters in the finished image and is missing or unclear in the first. The number of images a model can accept is a ceiling; it does not tell you how many a particular edit needs.
The Krea 3 technical report describes combining up to eight reference images in one generation and discusses training on examples with limited input context. The launch announcement listed up to six per edit. Those are descriptions from different publications; neither determines what a particular interface or provider accepts today. For your own edit, check the current Image-to-Image controls in the Krea2 image workspace. This guide gives you a review method, without assuming identical limits across services.
Sort references by what they prove
Suppose you want to move a blue ceramic desk lamp from a cluttered desk to a plain side table. Keep the same camera view. The main photograph should establish the lamp's silhouette, shade, cable and switch. A brass-switch close-up may help if the switch will be prominent. A beautiful photograph of another lamp may be a poor reference: its curved shade and different cord could pull the edit away from your own product.
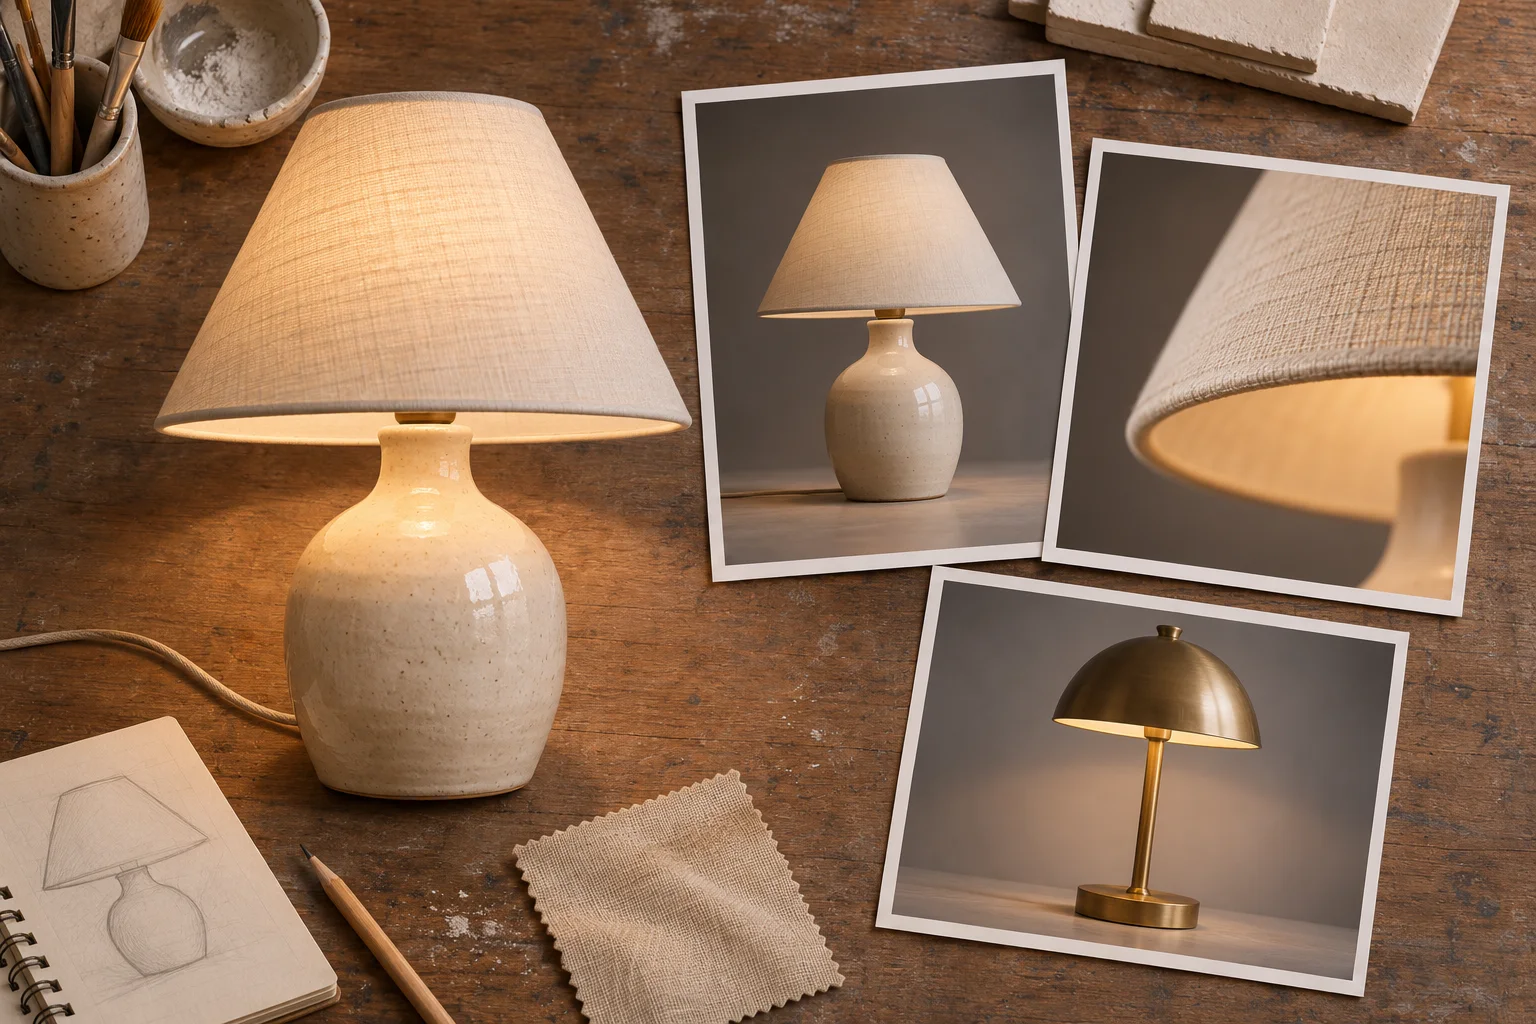
Generated planning illustration, not a Krea test or a set of real product photographs.
| Image | When it earns a place | When to leave it out |
|---|---|---|
| Main source photo | It shows the item and the view you want to keep | Replace it if a clearer image establishes the same view |
| Detail crop | A required feature is ambiguous in the main photo | That feature will be hidden or too small to matter |
| Scene reference | Words cannot describe the required layout or perspective | You only need a simple background, or the image shows a competing subject |
Ask what would become impossible to judge if you removed each reference. Two nearly identical photos often answer the same question. Keep the sharper one. When references conflict, decide which shows the approved product before uploading either one.
Change one input at a time
Start with the main photo and a narrow request: “Keep the lamp and its camera angle. Place it on a plain light-oak side table. Retain the straight shade rim, cloth cable and brass switch. Do not add props.” Review one candidate. Check the displayed settings and credit cost before generating more.
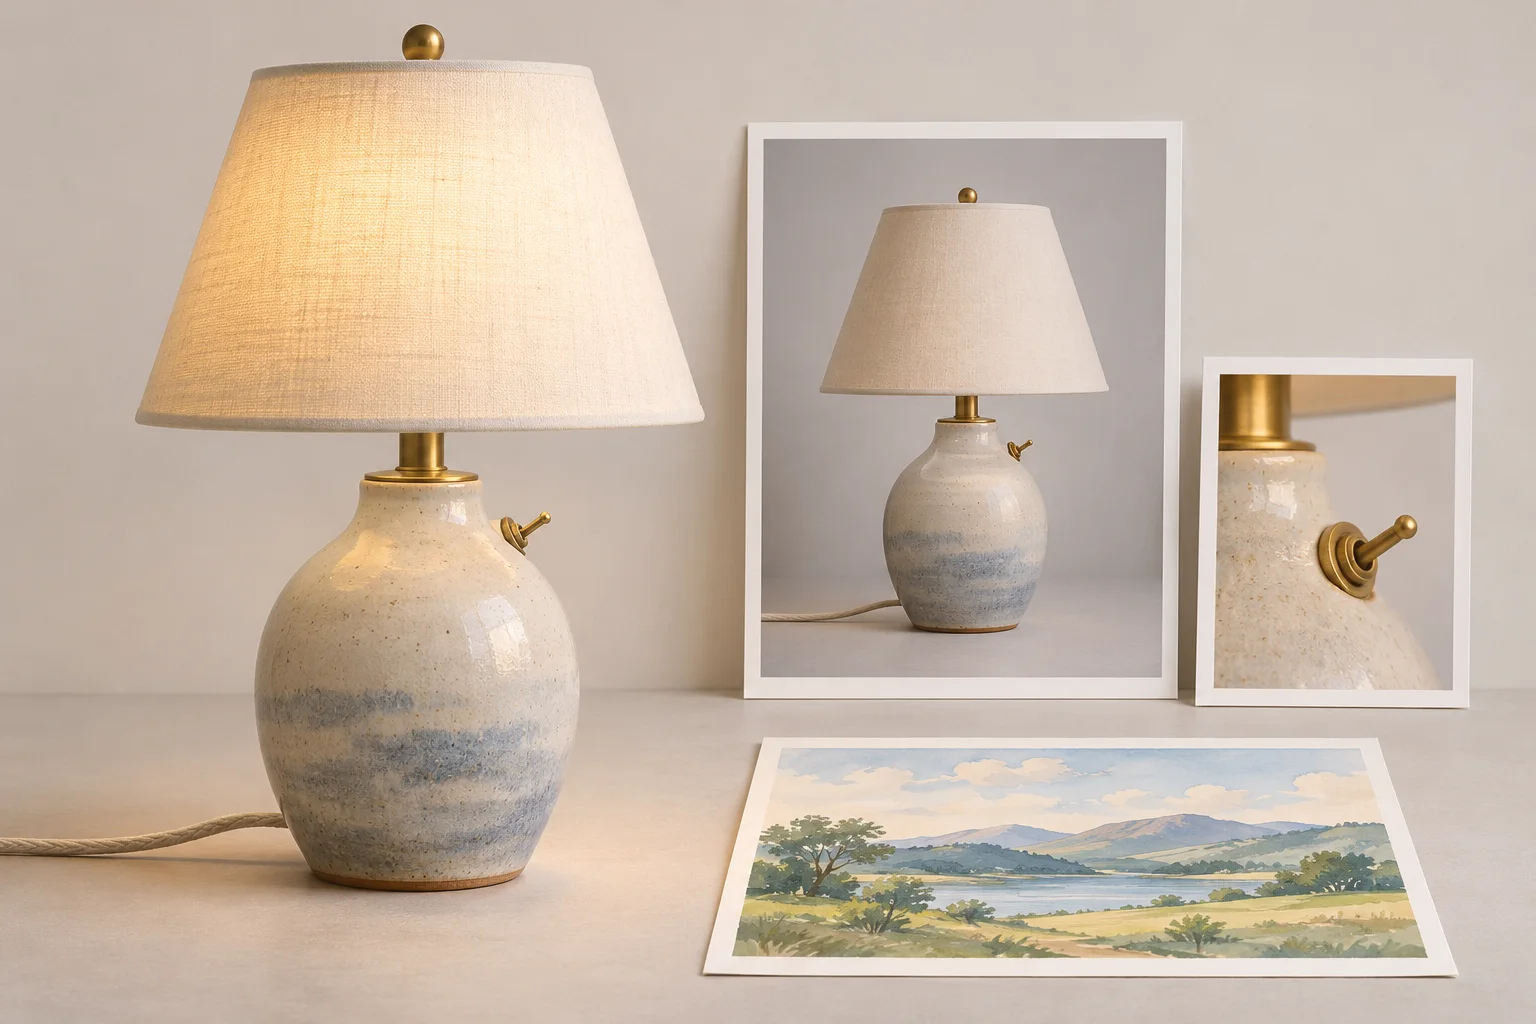
Generated illustration of a two-reference setup, not a screenshot or a benchmark.
If the switch is visibly wrong but the rest of the composition works, add the switch crop. Say explicitly which input shows construction and which supplies the small detail: “Image 1 defines the lamp and framing. Image 2 shows only the switch and its attachment.” Keep the rest of the instruction stable for a meaningful comparison. The prompt guide explains how to name what changes and what stays fixed.
If the added image introduces an unrelated finish or shape, remove it and try a tighter crop. If you need a different camera angle and newly visible parts are undocumented, take a relevant photo rather than adding more unrelated images; see the product angle planning guide.
Decide whether the extra reference helped
Compare the first and second candidate at the intended display size. Look at the one feature that justified the extra input, then inspect the rest of the lamp for changes you did not request. A better switch does not justify a changed shade or missing cable. If the detail is irrelevant at the intended size, use the smaller set. If exact construction matters and the edit still changes it, use an approved photo and finish the scene separately.
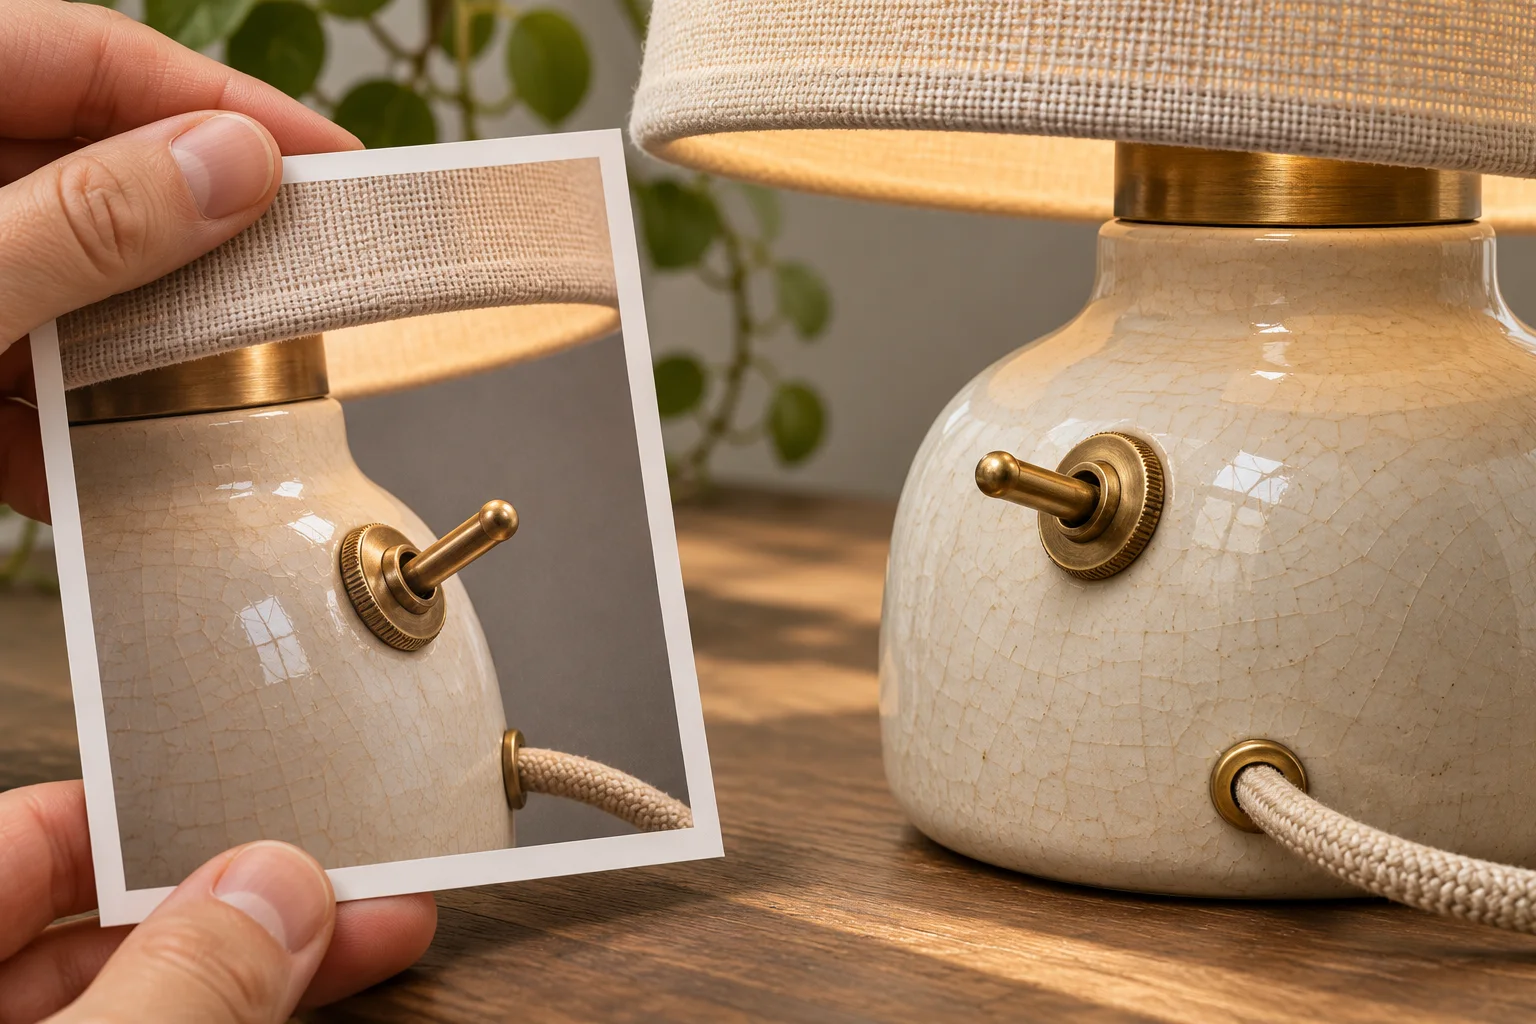
Generated review scenario, not an illustration of measured model accuracy.
Keep the accepted image together with the references, their roles, and the names of the details you checked. That record makes it easier to repeat a successful workflow than remembering the number of references alone.